A ceiling fan is a comfort staple in many homes, offering a gentle breeze and often, ambient lighting. However, few things are as frustrating as a pull chain that refuses to budge. When your ceiling fan pull chain gets stuck, it can leave you either sweltering in the heat or fumbling in the dark. This guide is designed to walk you through the troubleshooting and repair process, transforming a frustrating household problem into a manageable DIY task. We’ll cover everything from initial diagnosis to step-by-step repair, ensuring your ceiling fan operates smoothly again.
Understanding Your Ceiling Fan’s Pull Chain Mechanism
Ceiling fan pull chains serve as the primary manual control for your fan’s speed and, often, its light kit. Internally, each chain connects to a small, spring-loaded switch mechanism. When you pull the chain, it rotates a cam or lever inside the switch, changing the electrical connection and cycling through different fan speeds (off, low, medium, high) or turning the light on and off. The simplicity of this design makes it generally reliable, but over time, wear and tear, physical stress, or internal component failures can cause the pull chain to become stuck or non-functional. Common culprits include a knot in the chain, a snapped chain end lodged within the switch, or a completely seized internal switch mechanism due to dust, corrosion, or mechanical failure. Identifying the root cause is the first critical step in restoring functionality.
Safety First: Essential Steps Before Any Repair
Before you even think about touching your ceiling fan, prioritizing safety is paramount. Working with electricity carries inherent risks, and a ceiling fan is no exception. Ignoring safety precautions can lead to electrical shock or further damage to your appliance.
Turning Off Power at the Circuit Breaker
|
Our Picks for the Best Ceiling fan in 2026
As an Amazon Associate I earn from qualifying purchases.
|
||
| Num | Product | Action |
|---|---|---|
| 1 | Ceiling Fans with Lights - 42 Inch Low Profile Ceiling Fan with Light and Remote, Reversible DC Motors, 3CCT Dimmable Timer Noiseless, Black Flush Mount Ceiling Fan for Bedroom/Living Room |

|
| 2 | Amico Ceiling Fans with Lights, 42 inch Low Profile Ceiling fan with Light and Remote Control, Flush Mount, Reversible, 3CCT, Dimmable, Noiseless, Black Ceiling Fan for Bedroom, Indoor/Outdoor Use |
|
| 3 | ZMISHIBO Ceiling Fans with Lights and Remote, 19.7'' Low Profile Ceiling Fan, 3000-6000K Dimmable Modern Flush Mount LED Fan Light, 6 Wind Speeds, Black Fandelier Ceiling Fans for Bedroom |
|
| 4 | Ceiling Fans with Lights, 42 Inch Ceiling Fan with Light And Remote, 3CCT Flush Moun Low Profile Ceiling Fans, 6 Speed Noiseless LED Ceiling Fan, Black Ceilings Fan with Remote for Bedroom Living Room |
|
| 5 | Fanbulous 52 Inch Ceiling Fans with Lights and Remote, Stepless Color Temperature Change & Dimmable 20W LED Ceiling Fan, 6 Speeds Reversible Quiet DC Motor for Bedroom, Living Room, Apartment, Black |
|
| 6 | Passky Ceiling Fans with Lights, 52 inch Sleek Ceiling Fan with Light and Remote Control, 3CCT, Dimmable, Reversible, Noiseless, Black Ceiling Fan for Bedroom, Living Room |
|
| 7 | addlon Ceiling Fans with Lights, 42 Inch Low Profile Ceiling Fan with Light and Remote Control, Flush Mount, Reversible, 3CCT, Dimmable, Quiet, Black Small Ceiling Fan for Bedroom Indoor/Outdoor Use |
|
| 8 | ZMISHIBO 52 Inch Ceiling Fan with Light, App&Remote Control, Flush Mount Low Profile, Dimmable 20W LED Light, Quiet Reversible Motor for Bedroom, Living Room, Apartment, Black |
|
| 9 | Asyko 46" Low Profile Ceiling Fan with Light and Remote Control,Black Modern Flush Mount Ceiling Fan with Lights for Bedroom, Reversible, Dimmable, Noiseless |
|
| 10 | Ceiling Fans with Lights, 52 Inch Modern Ceiling Fans with Lights and Remote Control, DC Reversible Motor, Noiseless, 3CCT, Ceiling Fan for Bedroom, Living Room, Apartment Indoor/Outdoor Use |
|
The absolute first step is to cut off all power to the ceiling fan. Locate your home’s main electrical panel (circuit breaker box) and identify the breaker that controls the room or circuit where your ceiling fan is located. Flip this breaker to the “OFF” position. To double-check that the power is indeed off, try operating the fan’s wall switch or the light switch several times. If there’s no power, you’re ready to proceed. Never rely solely on the wall switch, as power could still be present at the fixture.
Gathering Necessary Tools and Materials
Having the right tools on hand will make the repair process smoother and more efficient. Before you begin, gather the following:
- Screwdrivers: Phillips-head and flat-head (various sizes may be useful).
- Pliers: Needle-nose or slip-joint for gripping and twisting.
- Wire Strippers: Essential for cleanly stripping wire insulation if replacing the switch.
- Wire Nuts: For securing electrical connections if replacing the switch.
- Electrical Tape: For added insulation and securing connections.
- Voltage Tester (Non-contact): A crucial safety tool to confirm power is off.
- New Pull Chain Switch (if needed): Ensure it’s compatible with your fan’s make and model (often universal, but check specifications).
- Ladder or Sturdy Step Stool: For safe access to the ceiling fan.
- Gloves and Safety Glasses: Recommended for protection.
Diagnosing the Problem: External vs. Internal Issues
Successfully fixing a stuck pull chain begins with accurately diagnosing whether the problem lies with the visible chain itself or the internal switch mechanism. This initial assessment will guide your repair strategy.
External Chain Issues
An external chain issue is typically the easiest to identify and often the simplest to fix. Look closely at the visible portion of the pull chain:
- Knots or Tangles: Sometimes, the chain can get twisted or knotted, preventing it from moving freely through the housing.
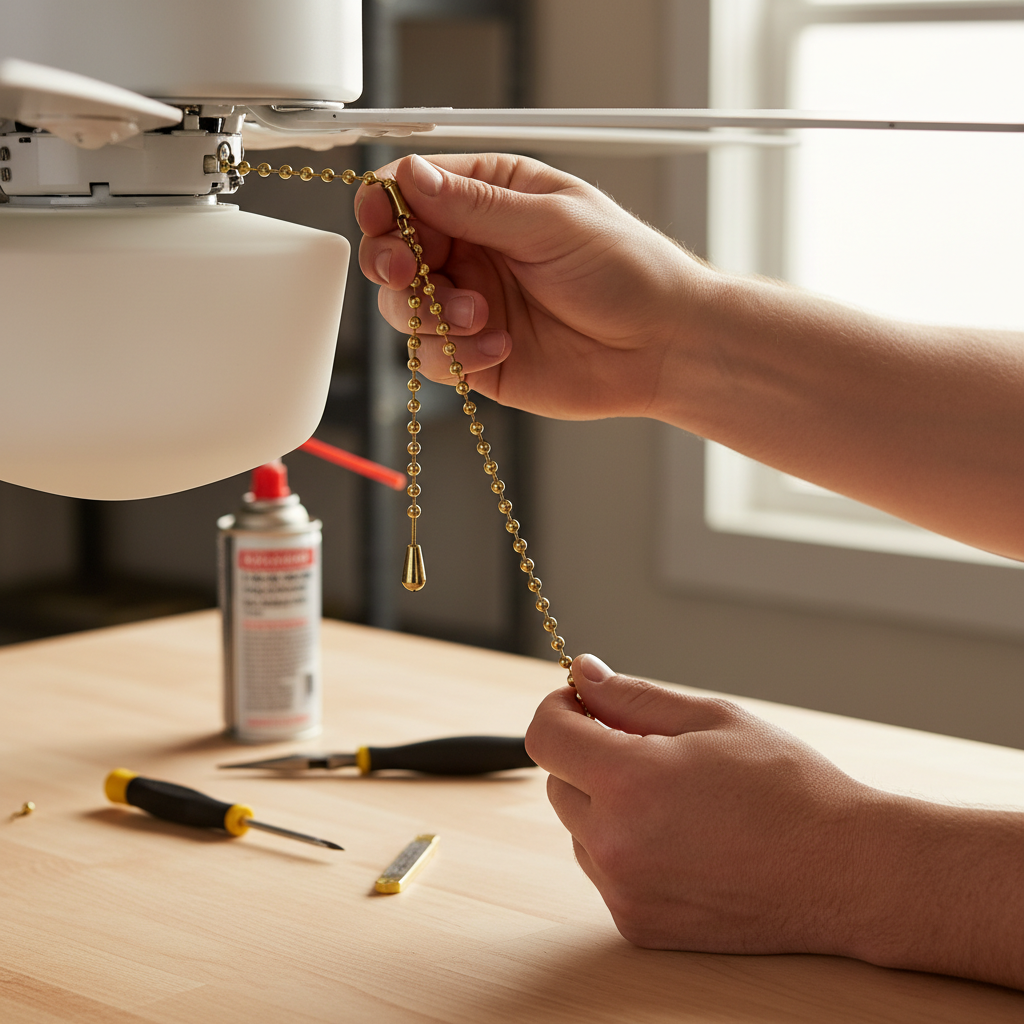
- Short or Broken Chain End: If only a very short stub of the chain is protruding, or if the decorative fob has fallen off, it might be difficult to grasp or have broken just at the point of entry into the fan’s housing.
- Chain Caught on Fan Housing: The chain might be snagged on a decorative element or a gap in the fan’s base.
These problems can often be resolved without disassembling the fan, making them ideal starting points for troubleshooting.
Internal Switch Malfunctions
If the external chain appears fine—no knots, ample length, and free movement—the problem likely originates within the fan’s internal pull chain switch. This usually indicates a more involved repair, often requiring the replacement of the entire switch unit.
- Broken Inside the Switch: The small metal chain link inside the switch may have snapped, disconnecting it from the internal mechanism. This is a common failure point.
- Jammed Mechanism: Over time, dust, debris, or corrosion can accumulate inside the switch, causing the internal components to jam and prevent the chain from moving.
- Worn-Out Spring: The internal spring that allows the switch to reset after each pull can lose tension or break.
- Electrical Failure: Less common, but sometimes the switch itself can fail electrically, even if the chain moves freely.
In most cases of internal switch malfunction, attempting to repair the delicate internal components is not recommended. It’s generally more practical, safer, and more reliable to replace the entire pull chain switch.
Step-by-Step Guide to Fixing Common Pull Chain Problems
Once you’ve identified the likely cause of your stuck pull chain, you can proceed with the appropriate repair. Remember to always ensure the power is off before handling any electrical components.
Addressing External Knots or Broken Chain Ends
If your diagnosis points to an external chain issue, these steps should resolve it:
- Inspect for Knots and Untangle: Carefully examine the visible chain for any twists or knots. Gently work them out with your fingers. If the chain is tightly tangled near the housing, you might need to gently pull it in the opposite direction or use needle-nose pliers to manipulate it.
- Attach an Extension Chain: If the existing chain is too short, or if the end has broken off leaving a small stub, you can often attach a pull chain extension. These small connectors easily snap onto the end of the existing chain, providing a longer, more accessible pull. Ensure the connector is securely fastened. Test the fan operation after extending the chain.
Replacing a Faulty Pull Chain Switch
If the problem is internal, or if untangling/extending the chain doesn’t work, replacing the pull chain switch is the most common and effective solution.
- Turn Off Power: (Reiterate) Double-check that the power is off at the circuit breaker and use a non-contact voltage tester to confirm no current is flowing to the fan.
- Open the Fan Housing: Most ceiling fans have a decorative housing or light kit that needs to be removed to access the wiring. This usually involves unscrewing several small screws (often two or three) from the bottom or sides of the light fixture or motor housing. Carefully lower the cover, being mindful of any attached wires.
- Remove the Metal Collar: The pull chain typically extends through a small metal collar or nut that secures the switch to the fan housing. Unscrew this collar, turning it counterclockwise. You might be able to do this by hand; if not, wrap a soft rag around it for grip and use pliers.
- Locate and Disconnect the Old Switch: Carefully pull the small plastic pull chain switch unit down. It will be attached by several wires. Take a picture or clearly note how the wires are connected to the old switch before disconnecting them. This is crucial for correct re-wiring. Using wire strippers, snip the wires as close to the old switch as possible, leaving ample wire length from the fan’s main wiring.
- Wire the New Switch: Strip about half an inch of insulation from the ends of the wires coming from the fan and the wires on your new pull chain switch. Carefully match the wires (e.g., if there were two pairs of wires on the old switch, match them identically on the new switch). Twist the corresponding bare wire ends together and secure each connection with a wire nut. Tug gently on the connections to ensure they are firm.
- Reassemble the Fan: Gently push the new pull chain switch back into its housing. Thread the new pull chain through the hole in the fan’s base and secure it with the metal collar, twisting clockwise until snug. Carefully tuck all wires back into the housing. Reattach the fan cover or light kit, making sure all screws are tightened securely.
- Test the Fan: Once everything is reassembled, turn the power back on at the circuit breaker. Test the new pull chain for the fan and/or light to ensure it cycles through all settings correctly.
“A common mistake when replacing a pull chain switch is neglecting to photograph the original wiring configuration. Always document your connections to ensure a seamless and safe re-installation.” – Alex Tan, Master Electrician
Troubleshooting and Testing Your Repaired Fan
After completing the repair, a thorough test is essential to ensure everything is working correctly and safely.
- No Power to Fan/Light: If the fan or light doesn’t turn on, re-check the circuit breaker to ensure it’s fully engaged. Then, turn off the power again and double-check all wire connections, ensuring they are secure within the wire nuts and no bare wires are touching.
- Fan Operates on Only One Speed: This could indicate a faulty switch (even a new one can be defective) or an incorrect wiring connection for the specific speed settings. Turn off power and re-examine the wiring, comparing it to the original configuration if possible.
- Loose Connections: If the fan or light flickers, power off and inspect all wire nuts and connections for tightness.
- Strange Noises: If the fan makes unusual noises after reassembly, power off and check if any wires are interfering with moving parts inside the fan housing. Ensure all screws are tightened to prevent rattling.
Always run the fan through all its speed settings and cycle the light (if applicable) several times to confirm full functionality before considering the repair complete.
When to Call a Professional Electrician
While many ceiling fan pull chain issues are manageable DIY projects, there are instances when calling a professional electrician is the safest and most prudent choice.
- Complex Wiring or Multiple Issues: If your fan has unusual wiring, or if you suspect the problem extends beyond the pull chain switch to the fan’s motor or main electrical connections, a professional can diagnose and repair it safely.
- Uncertainty or Lack of Experience: If you are uncomfortable working with electrical components, unsure about any step, or lack the necessary tools and experience, it’s always better to err on the side of caution.
- Persistent Issues: If you’ve attempted the repair and the problem persists, or if new issues arise, an electrician can offer expert troubleshooting.
- Safety Concerns: Any signs of burning smells, smoke, or buzzing from the fan indicate a serious electrical issue that requires immediate professional attention.
Your safety and the proper functioning of your home’s electrical system should always be the top priority.
Conclusion
A stuck ceiling fan pull chain doesn’t have to be a major headache. By systematically diagnosing the problem—whether it’s an external knot or a faulty internal switch—and following clear safety precautions, you can often resolve the issue yourself. Remember to always kill the power at the breaker, gather your tools, and carefully follow the steps for repair or replacement. Replacing a pull chain switch is a common and relatively straightforward electrical repair that can save you the cost of a new fan. Regular, gentle use of your fan’s controls can help prevent future issues, keeping your space comfortable year-round. What small home repair will you tackle next, armed with your newfound DIY confidence?
Frequently Asked Questions
Can I use any pull chain switch as a replacement?
No, not all pull chain switches are universal. While many basic switches are interchangeable for fan speed or light, it’s crucial to match the switch type (e.g., 3-speed, 4-wire for fan speed; 2-wire for light) and electrical ratings (amps/volts) to your existing switch to ensure compatibility and safe operation.
What if the chain breaks inside the switch and I can’t retrieve it?
If the chain breaks off inside the switch, it usually means the internal mechanism is damaged, or the chain is permanently lodged. In almost all such cases, attempting to retrieve the broken piece is futile and trying to “fix” the switch is not recommended. The most effective solution is to replace the entire pull chain switch.
How do I know if the pull chain switch is truly bad?
If the pull chain is visible and moves freely but doesn’t cycle through the fan speeds or turn the light on/off, or if it feels loose and doesn’t “click” into place, the internal mechanism of the switch is likely faulty. This is a strong indicator that the switch itself needs replacement.
Is it safe to fix a ceiling fan myself?
Yes, fixing a ceiling fan pull chain can be a safe DIY project if you follow all safety guidelines, especially turning off the power at the circuit breaker. If you’re uncomfortable with electrical work or if the problem seems complex, it’s always best to consult a qualified electrician.